How to prepare your sprayer before the start of the new spraying season
The preparation of your sprayer influences the work that follows throughout the season. This guide provides a clear overview of how to get the machine ready before the first application and outlines the practical checks and adjustments after storage. You will be taken through the preparation process step by step, helping ensure the sprayer is ready for use from the first field pass. Follow the steps to begin the season with a stable and predictable setup. The aim is to give a structured approach that makes preparation straightforward to carry out. By completing the checks beforehand, the machine is ready when conditions allow work to begin.
Why pre-season sprayer preparation matters
Before the spraying season begins, it is essential to ensure that your sprayer is in optimal condition. A proper pre-season inspection helps prevent downtime, improves application accuracy, reduces chemical waste, and extends the lifespan of your equipment.
Planning scheduled maintenance and considering preparation and upgrade kits can further optimise performance and ensure the machine is ready for reliable operation throughout the season.
Below is a practical step-by-step guide to preparing your sprayer for safe and efficient operation. All tests should be performed with clean water.
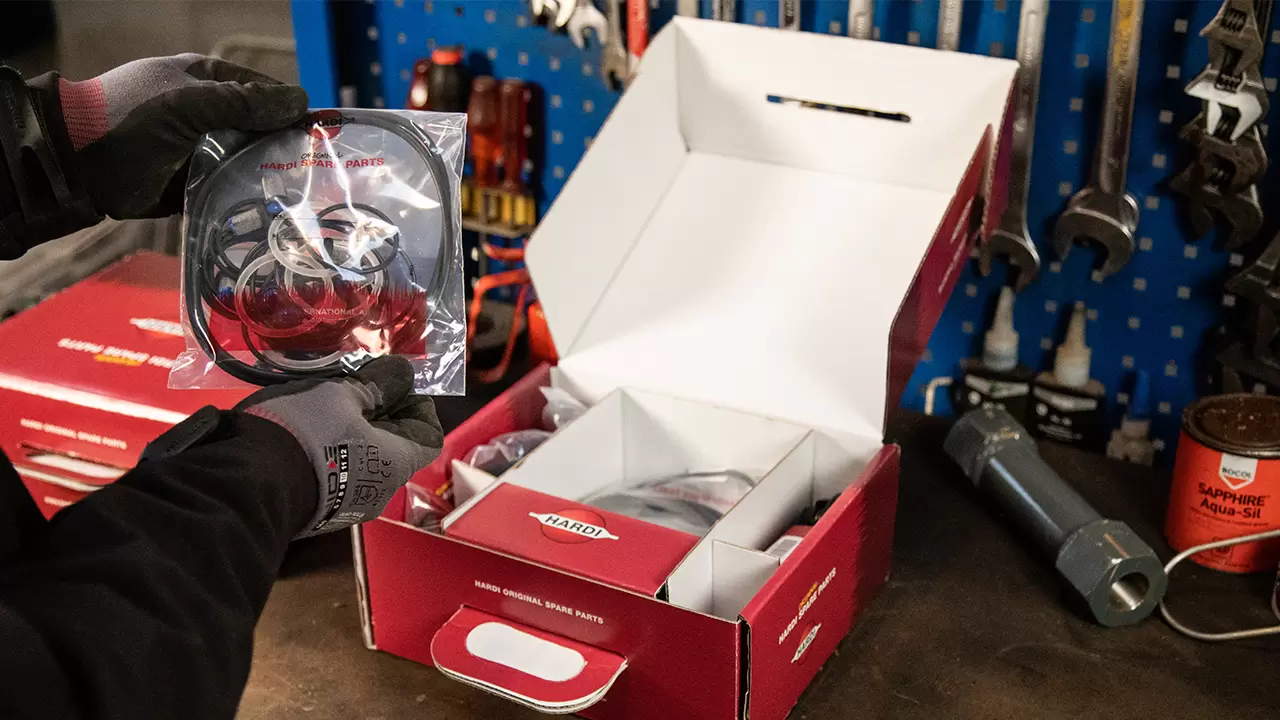
Read more about Original spare parts and kitsRemove antifreeze from the system
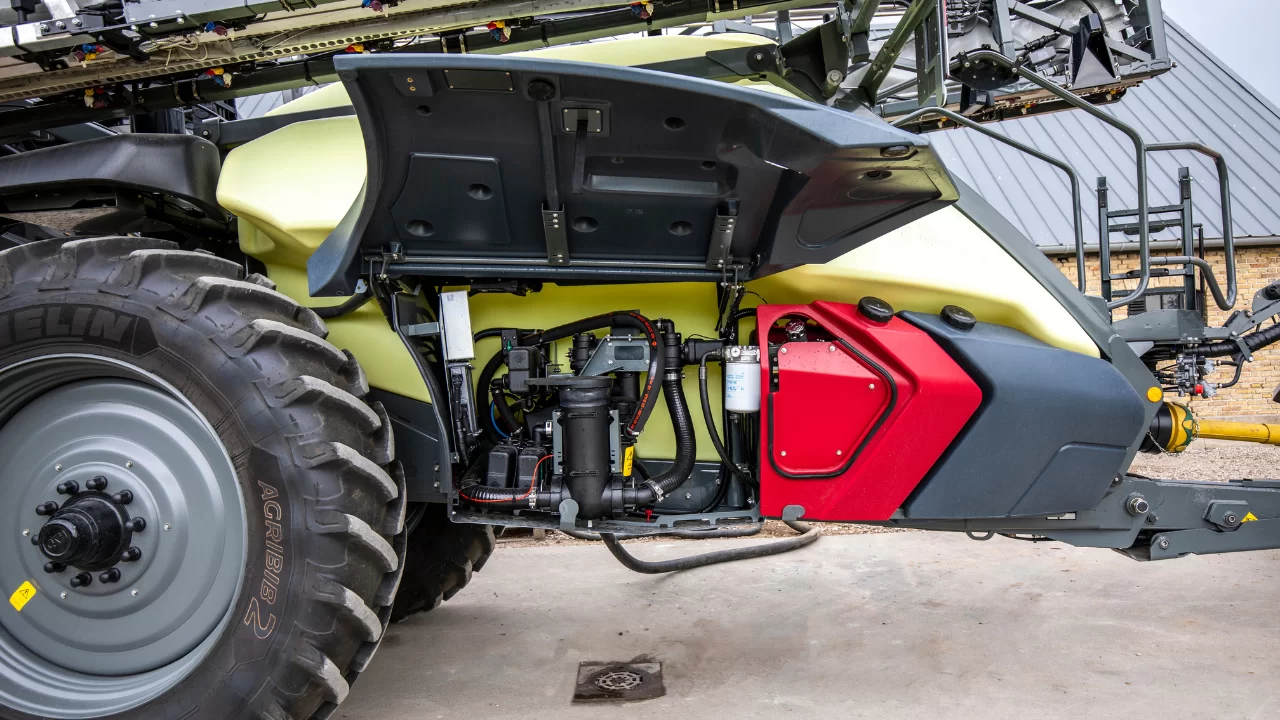
If the sprayer was protected with antifreeze during winter storage, drain the system completely. Flush the tank, hoses, pump, valves and boom thoroughly with clean water until all antifreeze is removed. Check that there are no residues, sediments or deposits left in the tank, filters or hoses.
Inspect the pump
Inspect the pump for leaks, unusual noise and correct pressure build up. Grease it and check the condition on diaphragms and valves, and replace if necessary.
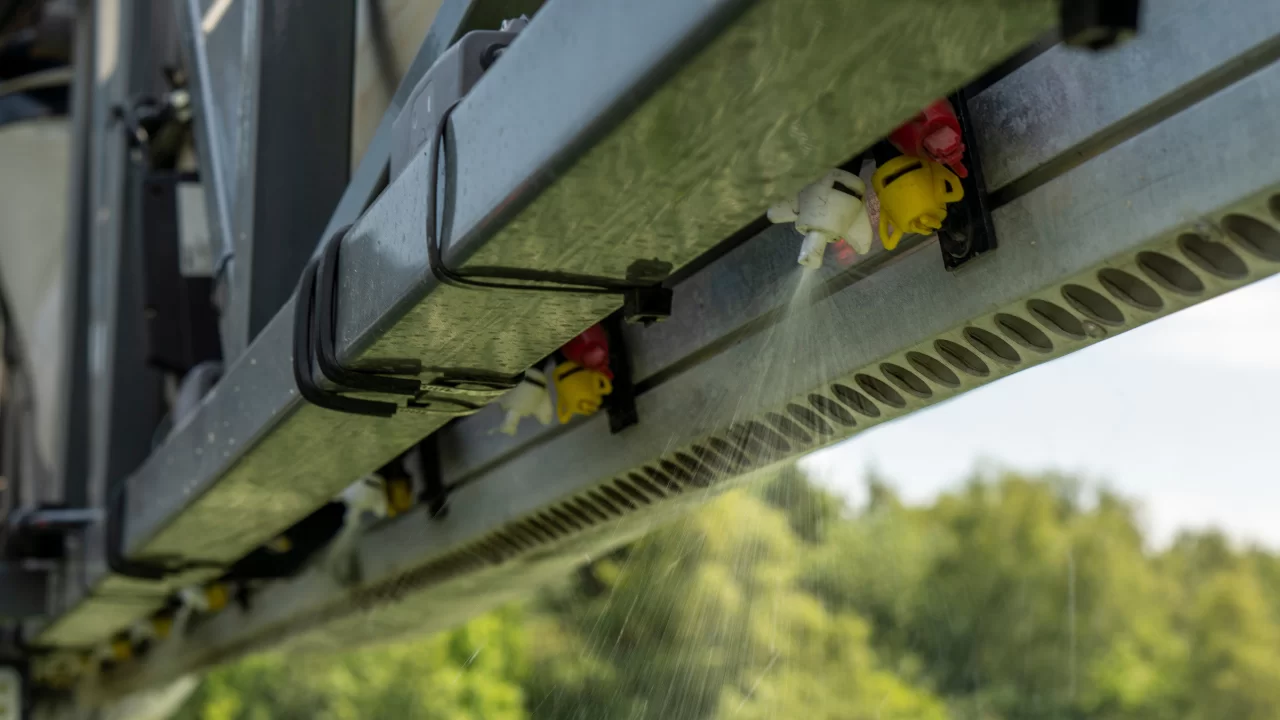
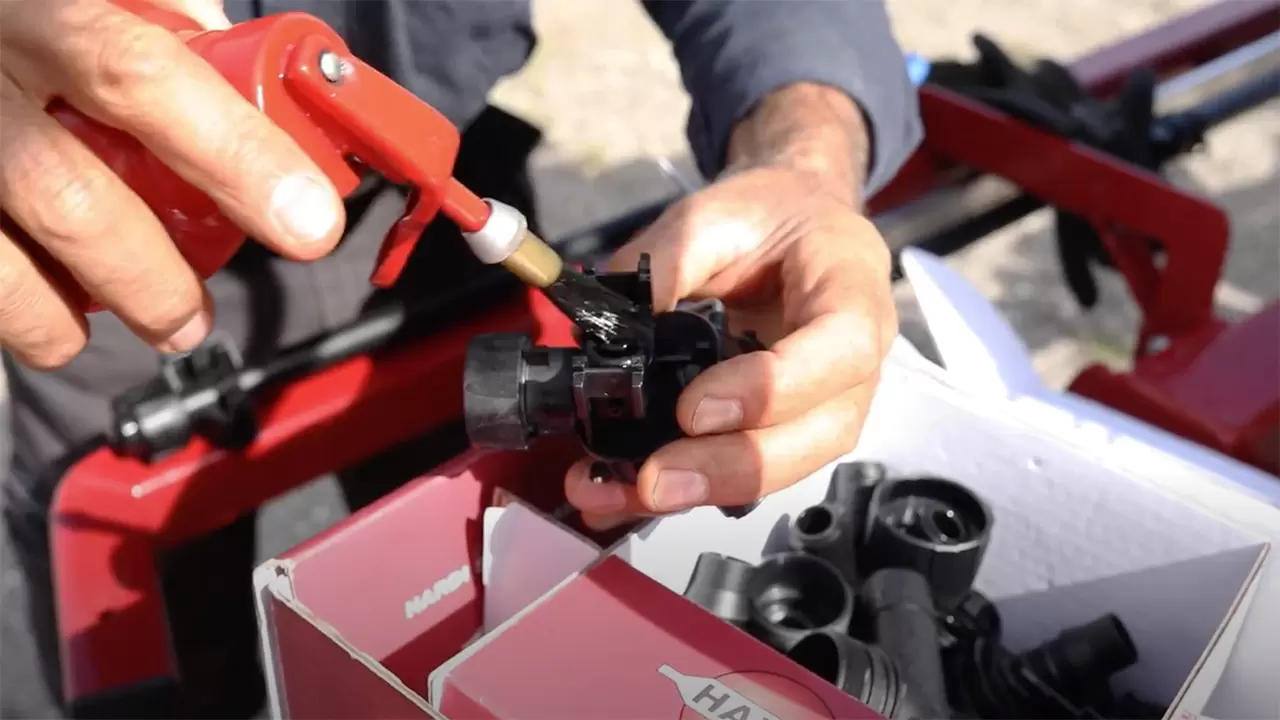
Check filters and nozzles
Remove and clean all filters. Inspect nozzles for wear and ensure even spray pattern. Replace worn or damaged nozzles.
Inspect hoses and seals
Inspect all hoses, seals and connections for cracks, leaks or ageing. Replace any components showing signs of wear.
Test valves, regulators, and flow meter
Check that all valves operate smoothly and close properly. Verify correct function of the pressure regulator and flow meter.
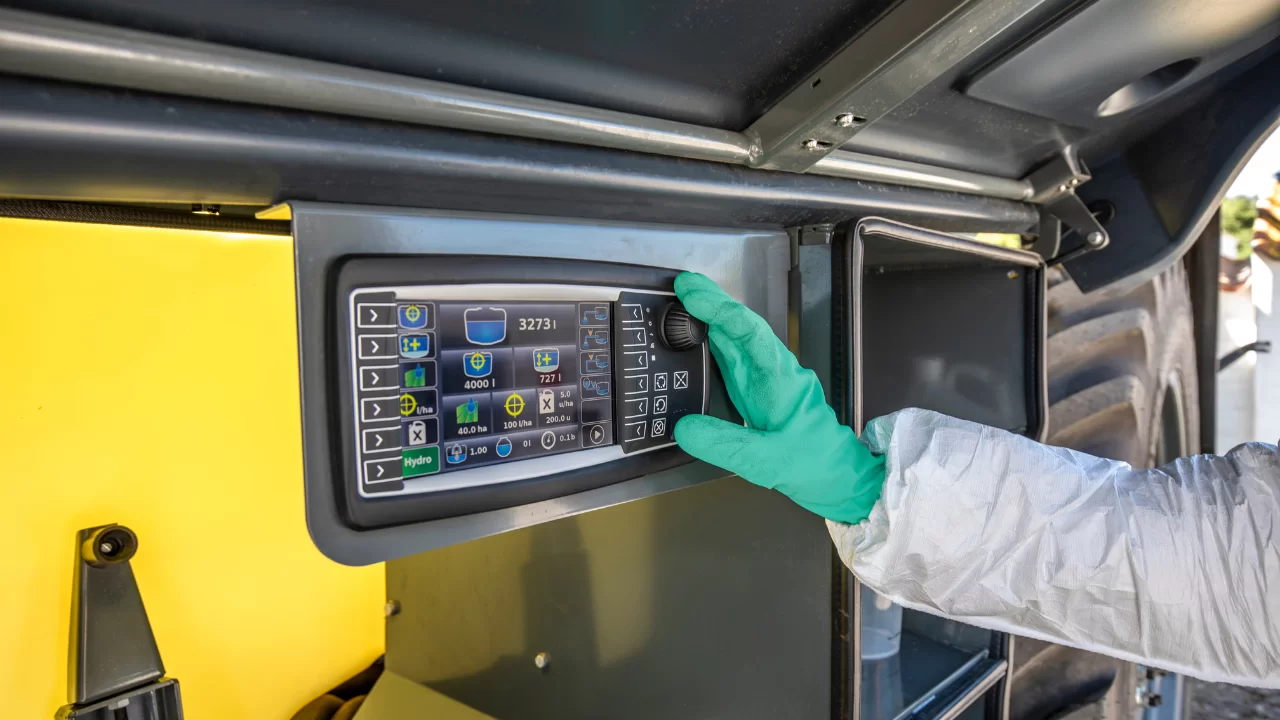
Calibrate the sprayer
Calibrate the sprayer before the season starts. Check pressure, nozzle output and application rate per hectare to ensure accurate spraying.
Inspect the boom and mechanical components
Inspect the boom for cracks, wear and correct folding. Lubricate all moving parts and check that boom suspension and control systems are functioning correctly.
Check electronics and controls
Test the sprayer controller, sensors, section control and any GPS systems. Inspect cables and connectors for damage.
Perform a final safety and functional test
Carry out a full functional test using clean water. Check for leaks and confirm that all functions operate correctly before putting the sprayer into service.
Ready for the season
A thorough pre-season inspection ensures reliable performance, accurate application, and safe operation throughout the spraying season. Investing time in preparation pays off in reduced downtime and better results in the field.
If you are in doubt about any maintenance steps or have questions regarding correct procedures, please consult the “Maintenance” section of your operator manual for detailed guidance on safe and efficient operation.
Are you in of need spare parts, nozzles, or service support? Contact your local dealer or service partner before the season starts.
Find your nearest HARDI Dealer